Workflow
How to Turn a Drawing into a 3D Model
A practical drawing-to-3D workflow, from preparing the sketch to AI generation, cleanup, texturing and export.
Turning a drawing into a 3D model is no longer a single, specialist-only process. You can reconstruct it manually in modeling software, build it precisely in CAD, or ask image-to-3D AI to propose the missing depth. The right method depends on what “correct” means for your project.
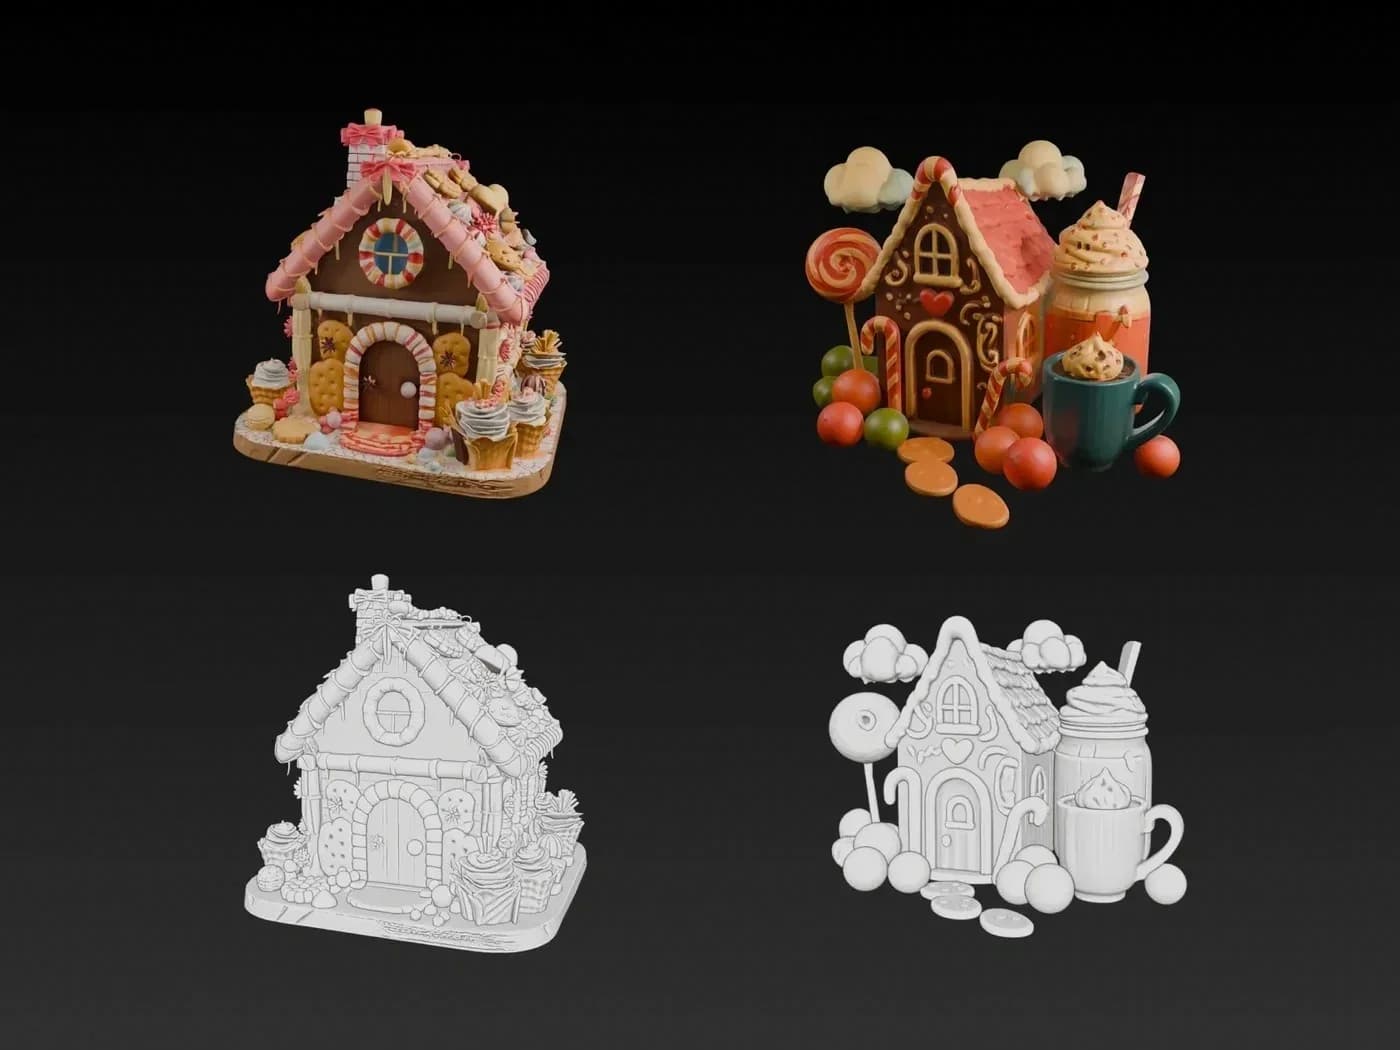
1. Decide what the model is for
For a game prop, character concept, illustration or fast prototype, visual plausibility often matters more than exact measurements. AI is a useful first pass. For a manufactured part, architectural component or anything governed by tolerances, use CAD and treat the drawing as a reference.
AI reconstructs an interpretation. CAD rebuilds specified geometry.
2. Prepare the drawing
Use one subject on a quiet background. Keep the complete silhouette inside the frame. A three-quarter view is usually more informative than a perfectly flat front view because it reveals width, height and depth together.
Make connected parts readable. Leave visible space around a vase handle, between a character's arms and torso, or inside an arch. Remove labels, arrows and background objects that could be mistaken for geometry.
3. Generate the first model
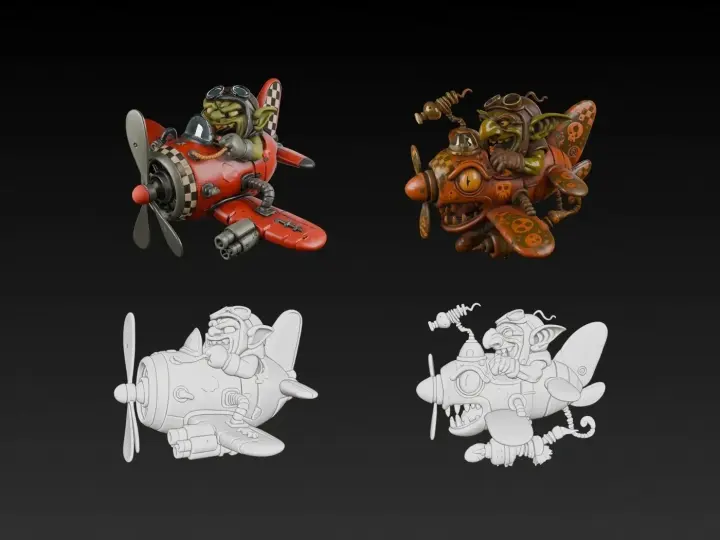
Upload the cleaned image to an image-to-3D workflow such as Tripo Studio. Generation estimates the unseen back and side surfaces, so inspect the result from every angle—not only from the camera angle that matches the drawing.
If the form is wrong, improve the source image before repeatedly generating. A clearer silhouette or more informative view usually helps more than extra visual decoration.
4. Inspect topology and shape
Check thin parts, holes, symmetry, the underside and surfaces hidden in the source drawing. Decide whether the model needs to deform for animation. A static prop and a rigged character have different topology needs.
5. Texture, refine and export
Once the form works, generate or edit the material. Keep baked lighting out of the base color when the asset must respond naturally to scene lights. Choose GLB for convenient web and real-time delivery; choose another format when your downstream software requires it.
The fastest reliable workflow is iterative: clear drawing, first reconstruction, all-angle inspection, targeted correction, then texture and export.